
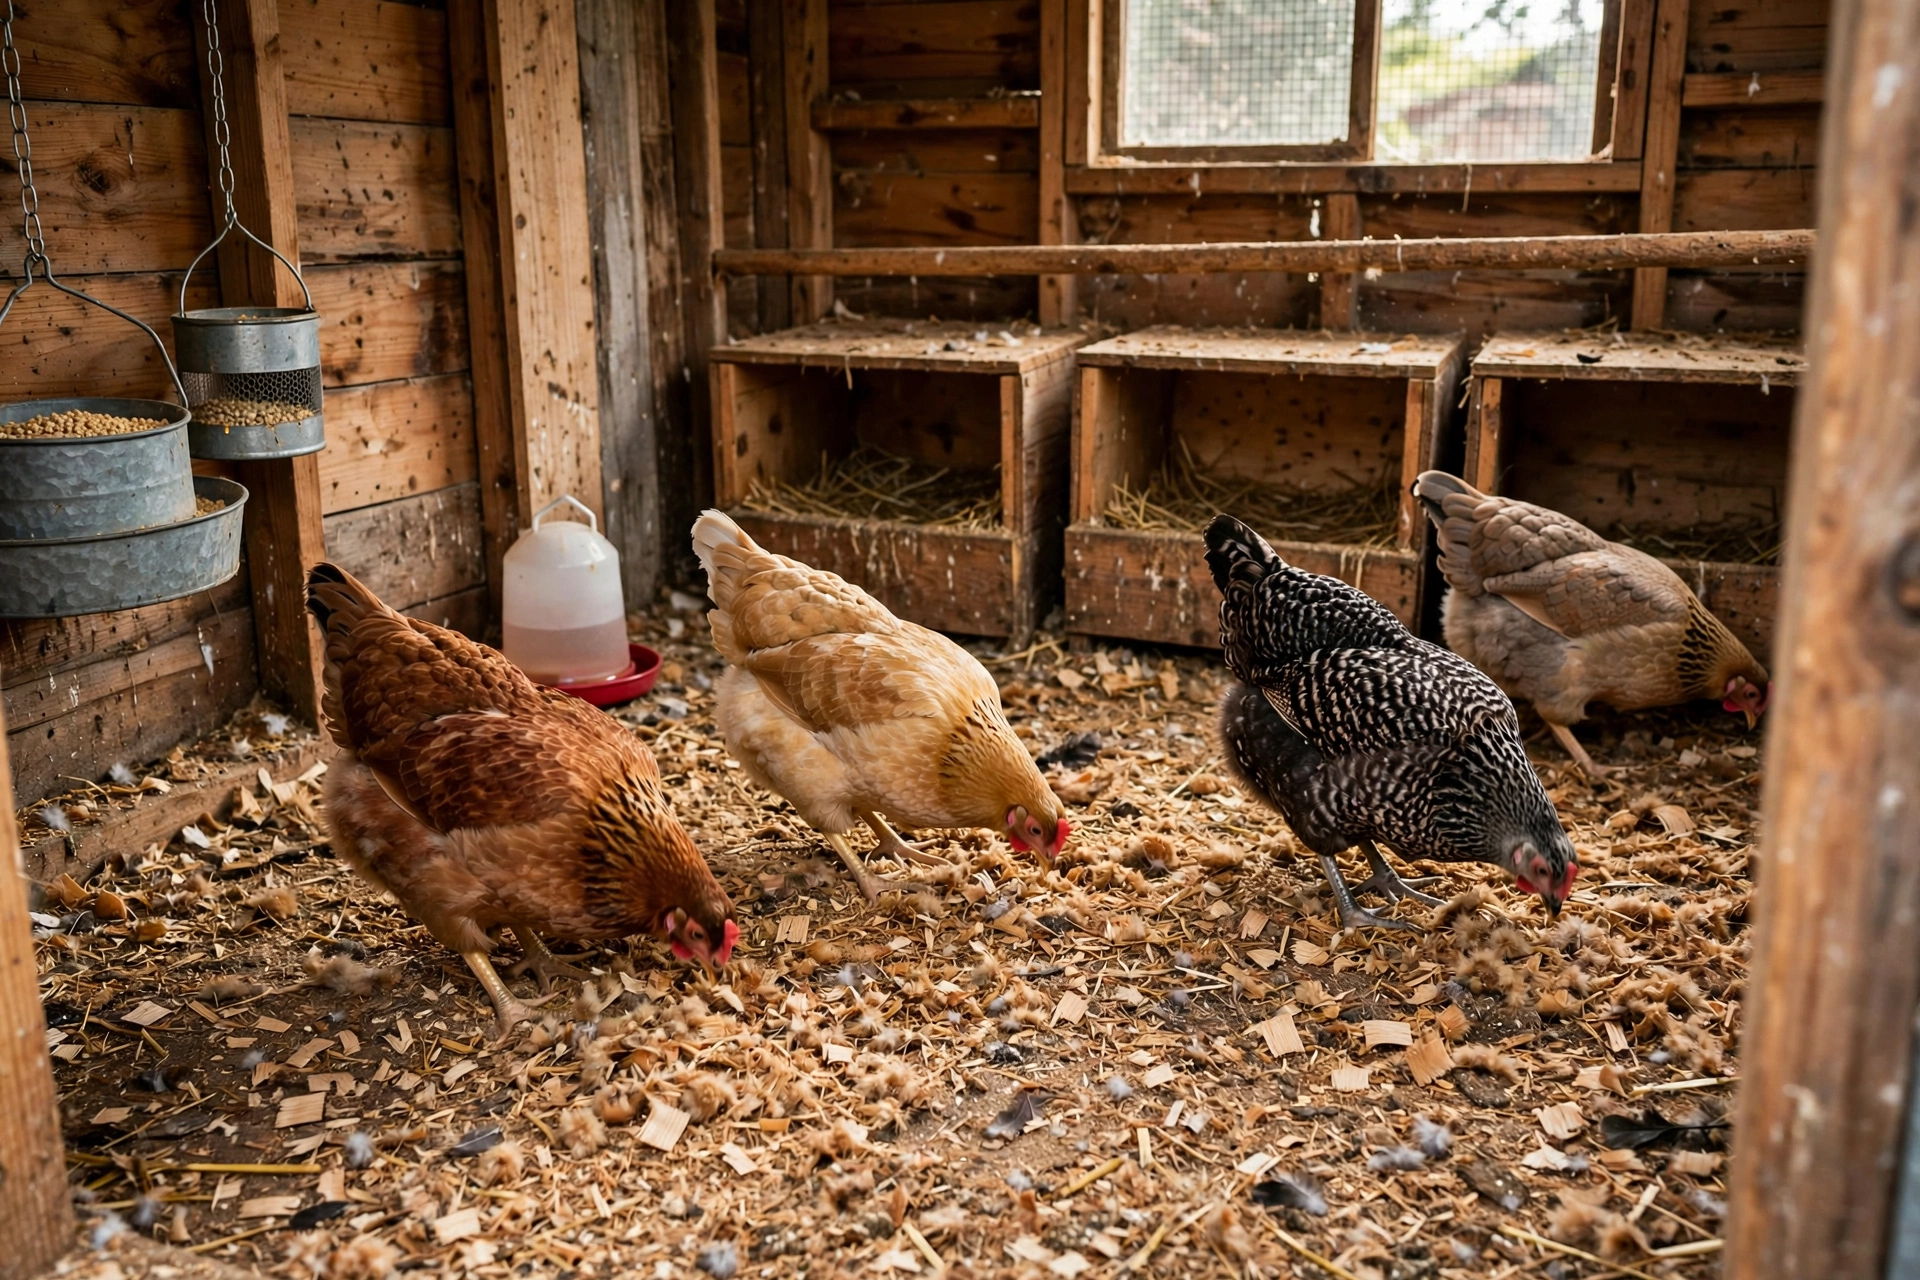
The deep litter method promises less cleaning, warmer hens and free compost, and in the right coop it delivers all three. In the wrong coop it delivers a wet, smelly mess that makes the hens sick. The difference is not luck, it is the coop itself, dry and well ventilated with the right bedding and regular stirring, or damp, small or concrete floored, where deep litter turns into a disaster. This guide gives you the honest split, how to start deep litter, how deep to build it, how to keep it working, and the one hard rule, never let it get wet, plus the coops where you should not use it at all.
Table of Contents
- The Short Answer. It Works in a Dry Coop and Fails in a Damp One
- What Deep Litter Actually Is
- How to Start Deep Litter. In Spring, Not Winter
- How Deep to Build It and What to Use
- Keeping It Working. Stirring and Adding Bedding
- The One Hard Rule. Never Let It Get Wet
- When Not to Use Deep Litter
- Deep Litter and Smell. What Is Normal
- Cleaning Out and Using the Compost
- FAQs
Deep litter is a layer of bedding that builds up over months, composting in place with the hens’ droppings, and it works in a dry, well ventilated coop, not in a damp one.
Start in spring with 4 to 6 inches of pine shavings, stir weekly, add fresh bedding on top, and the litter composts slowly, giving off a little heat.
Do not use deep litter in a damp coop, a small coop, or a coop with a concrete floor, where it turns into a wet, smelly mess.
The Short Answer. It Works in a Dry Coop and Fails in a Damp One
The deep litter method works in a dry, well ventilated coop with the right carbon to nitrogen balance and regular stirring, and it fails in a damp coop, a small coop, or a coop with a concrete floor, where it turns into a wet, smelly mess. That is the honest split in one sentence, and it is the thing the other guides soften. Deep litter is not a magic method that works everywhere, it is a composting system, and composting needs air, dryness and the right materials. Give it those, and it works beautifully, with less cleaning, warmer hens and free compost. Deny it those, and it fails, with ammonia, mould and sick hens.
The spine of this guide is simple. Start in spring, not winter, build it 4 to 6 inches deep with pine shavings, stir it weekly, add fresh bedding on top, and never let it get wet. And if your coop is damp, small or concrete floored, do not use deep litter at all, because the method will fight you, and the hens will pay for it.
What Deep Litter Actually Is
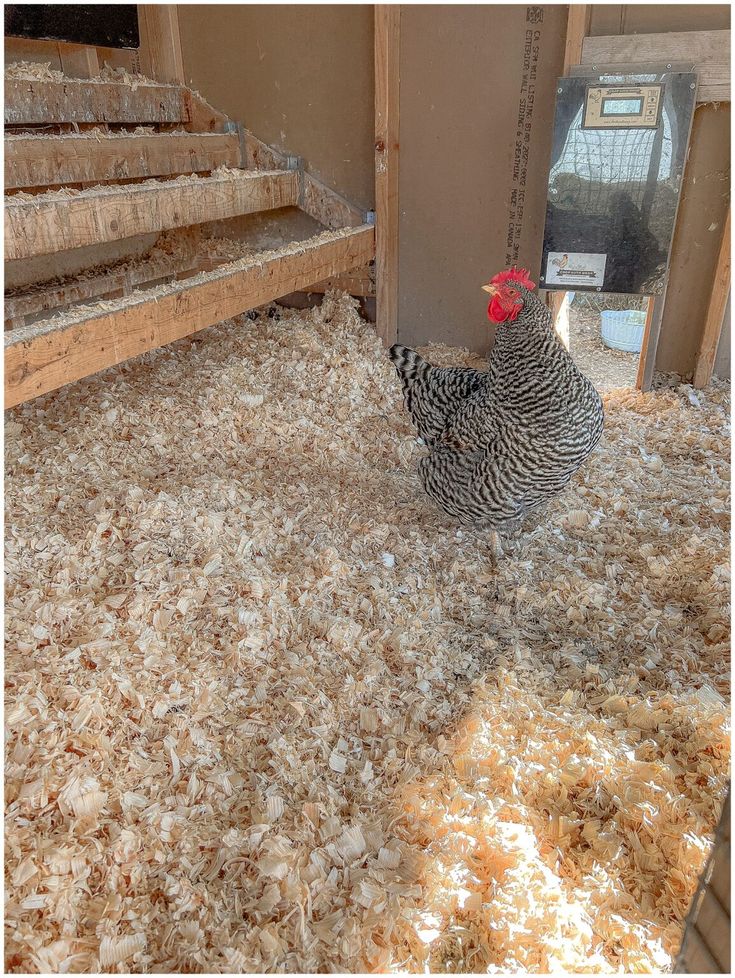
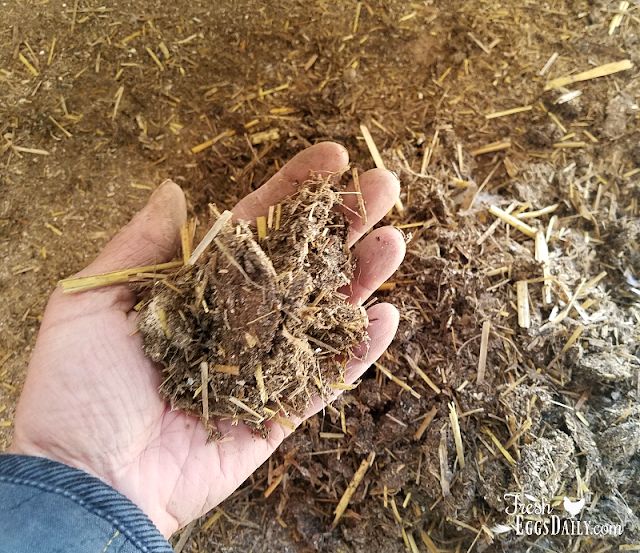
Deep litter is a layer of bedding that builds up over months, composting in place with the hens’ droppings, instead of being cleaned out every week. You start with a deep layer of bedding, usually pine shavings, and the hens live on it, scratching, pecking and adding droppings. You stir it weekly, and you add fresh bedding on top when it gets thin or damp. Over months, the bottom layers start to compost, breaking down the droppings with the help of microbes, and giving off a little heat, which keeps the coop warmer in winter.
The composting is the point. The microbes break down the droppings, so the litter does not smell, and the hens get a warm, dry floor to live on. The litter is cleaned out once or twice a year, usually in spring and autumn, and the composted litter goes straight onto the garden, where it is rich, dark and ready to use. Deep litter is not the same as never cleaning the coop. It is a different kind of cleaning, where you manage the litter instead of removing it, and you clean it out less often, but you still manage it every week, with stirring and fresh bedding.
How to Start Deep Litter. In Spring, Not Winter
Start deep litter in spring, not winter, because the method needs warm weather to get going, and winter is the worst time to start it. In spring, the weather is warm, the coop is dry, and the microbes that compost the litter are active, so the litter starts breaking down fast. In winter, the weather is cold, the coop is damp, and the microbes are slow, so the litter stays wet and cold, and it never gets going. Starting in winter is the most common mistake, and it is the one that makes people give up on deep litter.
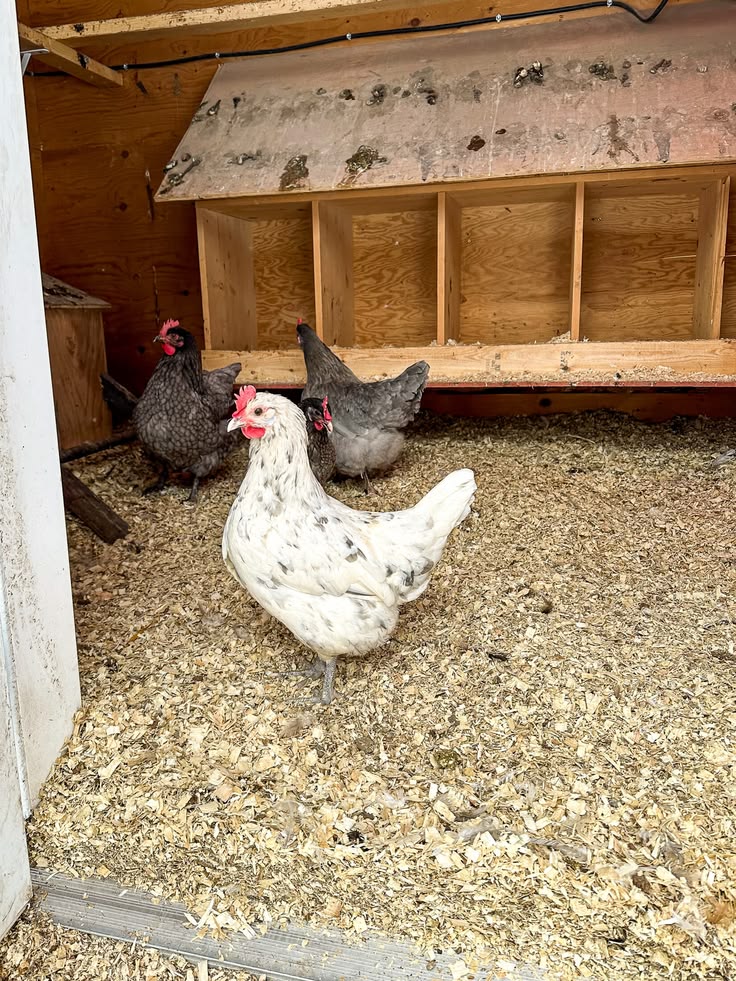
To start, clean the coop out completely, and let it dry. Then put down 4 to 6 inches of pine shavings, evenly across the floor, and let the hens in. The shavings should be dry, clean and dust free, and they should be pine, not cedar, because cedar is toxic to chickens. For the first few weeks, stir the litter every few days, and add a handful of scratch grains to encourage the hens to scratch and turn it over. The hens are your best stirrers, and they will do most of the work, as long as you give them a reason to scratch. After a month, the litter should be working, with a dry top layer and a warm, composting bottom layer, and you can settle into the weekly routine.
How Deep to Build It and What to Use
Build deep litter 4 to 6 inches deep, with pine shavings, and keep it at that depth by adding fresh bedding on top. The depth matters, because the litter needs to be deep enough to compost, but not so deep that it goes anaerobic, which is when the bottom layers get no air and start to smell. Four to six inches is the sweet spot, deep enough to compost, shallow enough to breathe, and easy to stir.
Pine shavings are the best bedding for deep litter, because they are absorbent, they break down slowly, and they do not pack down into a solid mat. Straw is the second choice, but it packs down faster, and it holds moisture, so it needs more stirring. Hay is not a good choice, because it goes mouldy fast, and it holds too much moisture. Do not use cedar shavings, because cedar is toxic to chickens, and the fumes can damage their lungs. Do not use sawdust, because it is too fine, it packs down into a solid mat, and it gets dusty, which is bad for the hens’ lungs. Add fresh bedding on top when the litter gets thin or damp, about an inch at a time, and stir it in. The litter will build up over months, and by the time you clean it out, it will be 8 to 12 inches deep, and ready for the garden.
Keeping It Working. Stirring and Adding Bedding
Deep litter works because you stir it weekly and add fresh bedding on top, and the hens do the rest. Stir the litter once a week, with a pitchfork or a rake, turning it over so the top layer goes down and the bottom layer comes up. This mixes the droppings into the bedding, gives the microbes air, and keeps the litter from packing down. The hens will help, because they scratch and peck at the litter, and they will turn it over for you, as long as you give them a reason to scratch, like a handful of scratch grains.
Add fresh bedding on top when the litter gets thin or damp, about an inch at a time, and stir it in. The fresh bedding absorbs moisture, gives the microbes more carbon to work with, and keeps the top layer dry, which is what the hens walk on. The carbon to nitrogen balance is the thing that makes deep litter work. The bedding is carbon, the droppings are nitrogen, and the microbes need both, in the right balance. Too much nitrogen, from too many droppings and not enough bedding, and the litter gets wet and smelly. Too much carbon, from too much bedding and not enough droppings, and the litter does not compost, it just sits there. The weekly stirring and the fresh bedding keep the balance right. Our guide to coop cleaning covers how often to clean a coop, and deep litter changes that, because you clean it out less often, but you still manage it every week.
The One Hard Rule. Never Let It Get Wet
The one hard rule of deep litter is never let it get wet, because wet litter is the thing that turns deep litter from a composting system into a health hazard. Wet litter goes anaerobic, which means the bottom layers get no air, and the microbes that need air die, and the microbes that do not need air take over, and they produce ammonia and hydrogen sulphide, which smell terrible and damage the hens’ lungs. Wet litter also grows mould, which is toxic to chickens, and it attracts flies, which spread disease.
The litter gets wet from a leaking roof, a leaking waterer, rain blowing in through the vents, or a damp floor. Fix the leak, fix the waterer, fix the vents, and fix the floor, before you start deep litter, because the method will not work in a wet coop, and it will make the hens sick. If the litter does get wet, remove the wet patch at once, and replace it with dry bedding, and stir the rest. Do not leave wet litter in the coop, because it will spread, and the whole litter will go wet, and the hens will suffer. The test is simple. Squeeze a handful of litter. If it feels damp, add dry bedding and stir. If it drips water, remove it and replace it. If it feels dry, leave it alone. Our guide to coop ventilation covers how to keep a coop dry, because ventilation is the thing that keeps the moisture out, and deep litter needs good ventilation to work.
When Not to Use Deep Litter
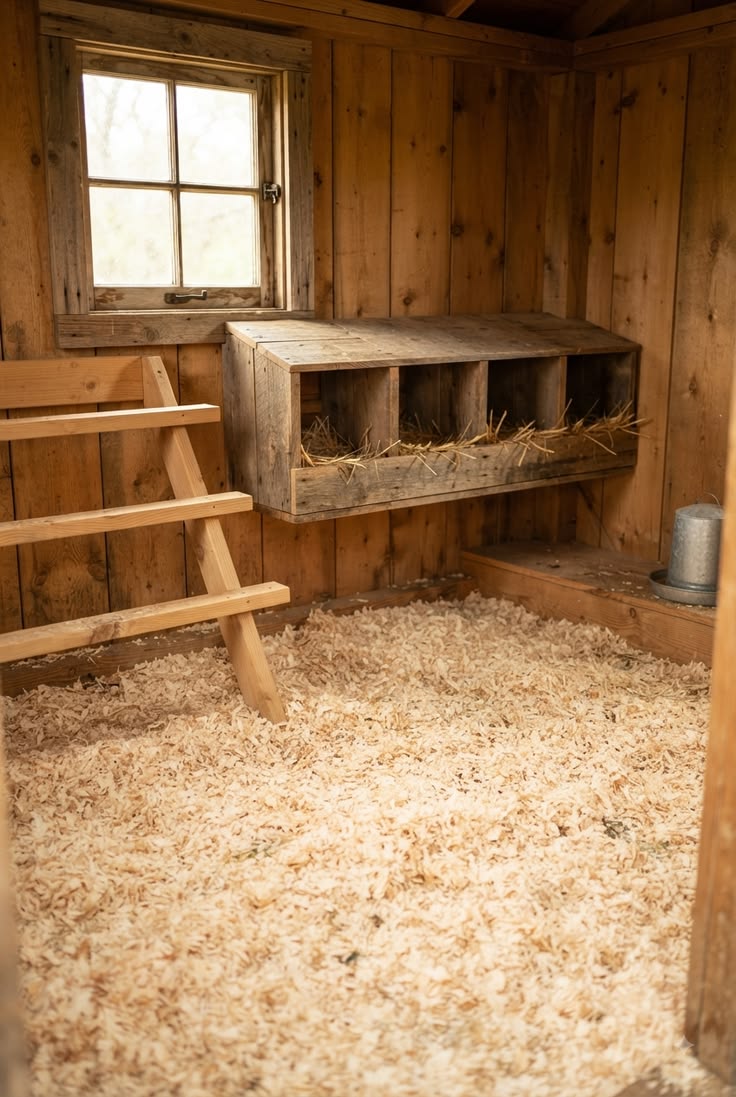
Do not use deep litter in a damp coop, a small coop, or a coop with a concrete floor, because the method will fight you, and the hens will pay for it. A damp coop is the first no. If the coop leaks, if the floor is damp, if the waterer spills, deep litter will go wet, and it will smell, and the hens will get sick. Fix the damp first, or do not use deep litter. A small coop is the second no. Deep litter needs space, because the hens need room to scratch and turn the litter, and the litter needs room to breathe. In a small coop, with too many hens in too little space, the litter gets packed down, the droppings build up too fast, and the litter goes wet and smelly. If your coop is small, clean it out weekly instead, and do not use deep litter. A concrete floor is the third no. Deep litter needs a dirt or wood floor, because the microbes that compost the litter live in the soil, and a concrete floor has no microbes, and it holds moisture, so the litter stays wet. If your coop has a concrete floor, put down a layer of dirt or wood shavings first, or do not use deep litter.
If any of these apply to your coop, do not use deep litter. Clean the coop out weekly instead, and your hens will be healthier for it.
Deep Litter and Smell. What Is Normal
Deep litter should smell like a forest floor, earthy and clean, not like ammonia, and if it smells like ammonia, something is wrong. A working deep litter system smells like a forest floor, because the microbes are breaking down the droppings, and the bedding is absorbing the moisture, and the coop is dry and well ventilated. The smell is mild, earthy and pleasant, and you can stand in the coop without holding your nose.
If the litter smells like ammonia, it is too wet, or it has too many droppings and not enough bedding, or it is not being stirred enough. The fix is to add dry bedding, stir it well, and check for leaks. If the smell does not go away in a day, remove the litter and start again, because the litter has gone anaerobic, and it will not recover. If the litter smells like mould, it is wet, and it needs to be removed at once, because mould is toxic to chickens, and it will make them sick. Remove the mouldy patch, replace it with dry bedding, and check for leaks. Our guide to run bedding covers the bedding outside the coop, and the same rule applies there, because wet bedding smells, and dry bedding does not.
Cleaning Out and Using the Compost
Clean deep litter out once or twice a year, usually in spring and autumn, and the composted litter goes straight onto the garden. When you clean it out, shovel the litter into a wheelbarrow, and take it to the garden, where it is rich, dark and ready to use. The litter is compost, and it is full of nitrogen, phosphorus and potassium, and it will make your garden grow. Spread it on the beds, dig it in, and water it, and the plants will love it.
The best time to clean out is spring, when the garden needs compost, and the weather is warm enough to start a new batch of deep litter. The second best time is autumn, when the garden needs compost for winter, and the coop needs a fresh start before the cold weather. After you clean it out, let the coop dry, and put down a fresh layer of pine shavings, 4 to 6 inches deep, and start again. The new litter will get going fast, because the coop is warm and dry, and the hens are ready to scratch. Our guide to dust baths covers the dust bath area, which is separate from the deep litter, and the hens need both, a dry dust bath for cleaning, and a deep litter floor for living.
FAQs
What is the deep litter method for chickens.
Deep litter is a layer of bedding that builds up over months, composting in place with the hens’ droppings, instead of being cleaned out every week. You start with 4 to 6 inches of pine shavings, stir weekly, add fresh bedding on top, and clean it out once or twice a year.
Is deep litter safe for chickens.
Yes, deep litter is safe for chickens in a dry, well ventilated coop, with the right bedding and regular stirring. It is not safe in a damp coop, a small coop, or a coop with a concrete floor, where it turns into a wet, smelly mess that makes the hens sick.
How deep should deep litter be.
Build it 4 to 6 inches deep with pine shavings, and keep it at that depth by adding fresh bedding on top. By the time you clean it out, it will be 8 to 12 inches deep, and ready for the garden.
Does deep litter smell.
Deep litter should smell like a forest floor, earthy and clean, not like ammonia. If it smells like ammonia, it is too wet, or it has too many droppings and not enough bedding, or it is not being stirred enough, and the fix is to add dry bedding, stir it well, and check for leaks.
When should I not use deep litter.
Do not use deep litter in a damp coop, a small coop, or a coop with a concrete floor, where it turns into a wet, smelly mess. If any of these apply to your coop, clean the coop out weekly instead, and your hens will be healthier for it.
For laying hens, our guide to feeding eggshells back to chickens covers how to bake, crush and offer them safely.
Keep Reading

Nusrat
Author, TheChickenPet.com