
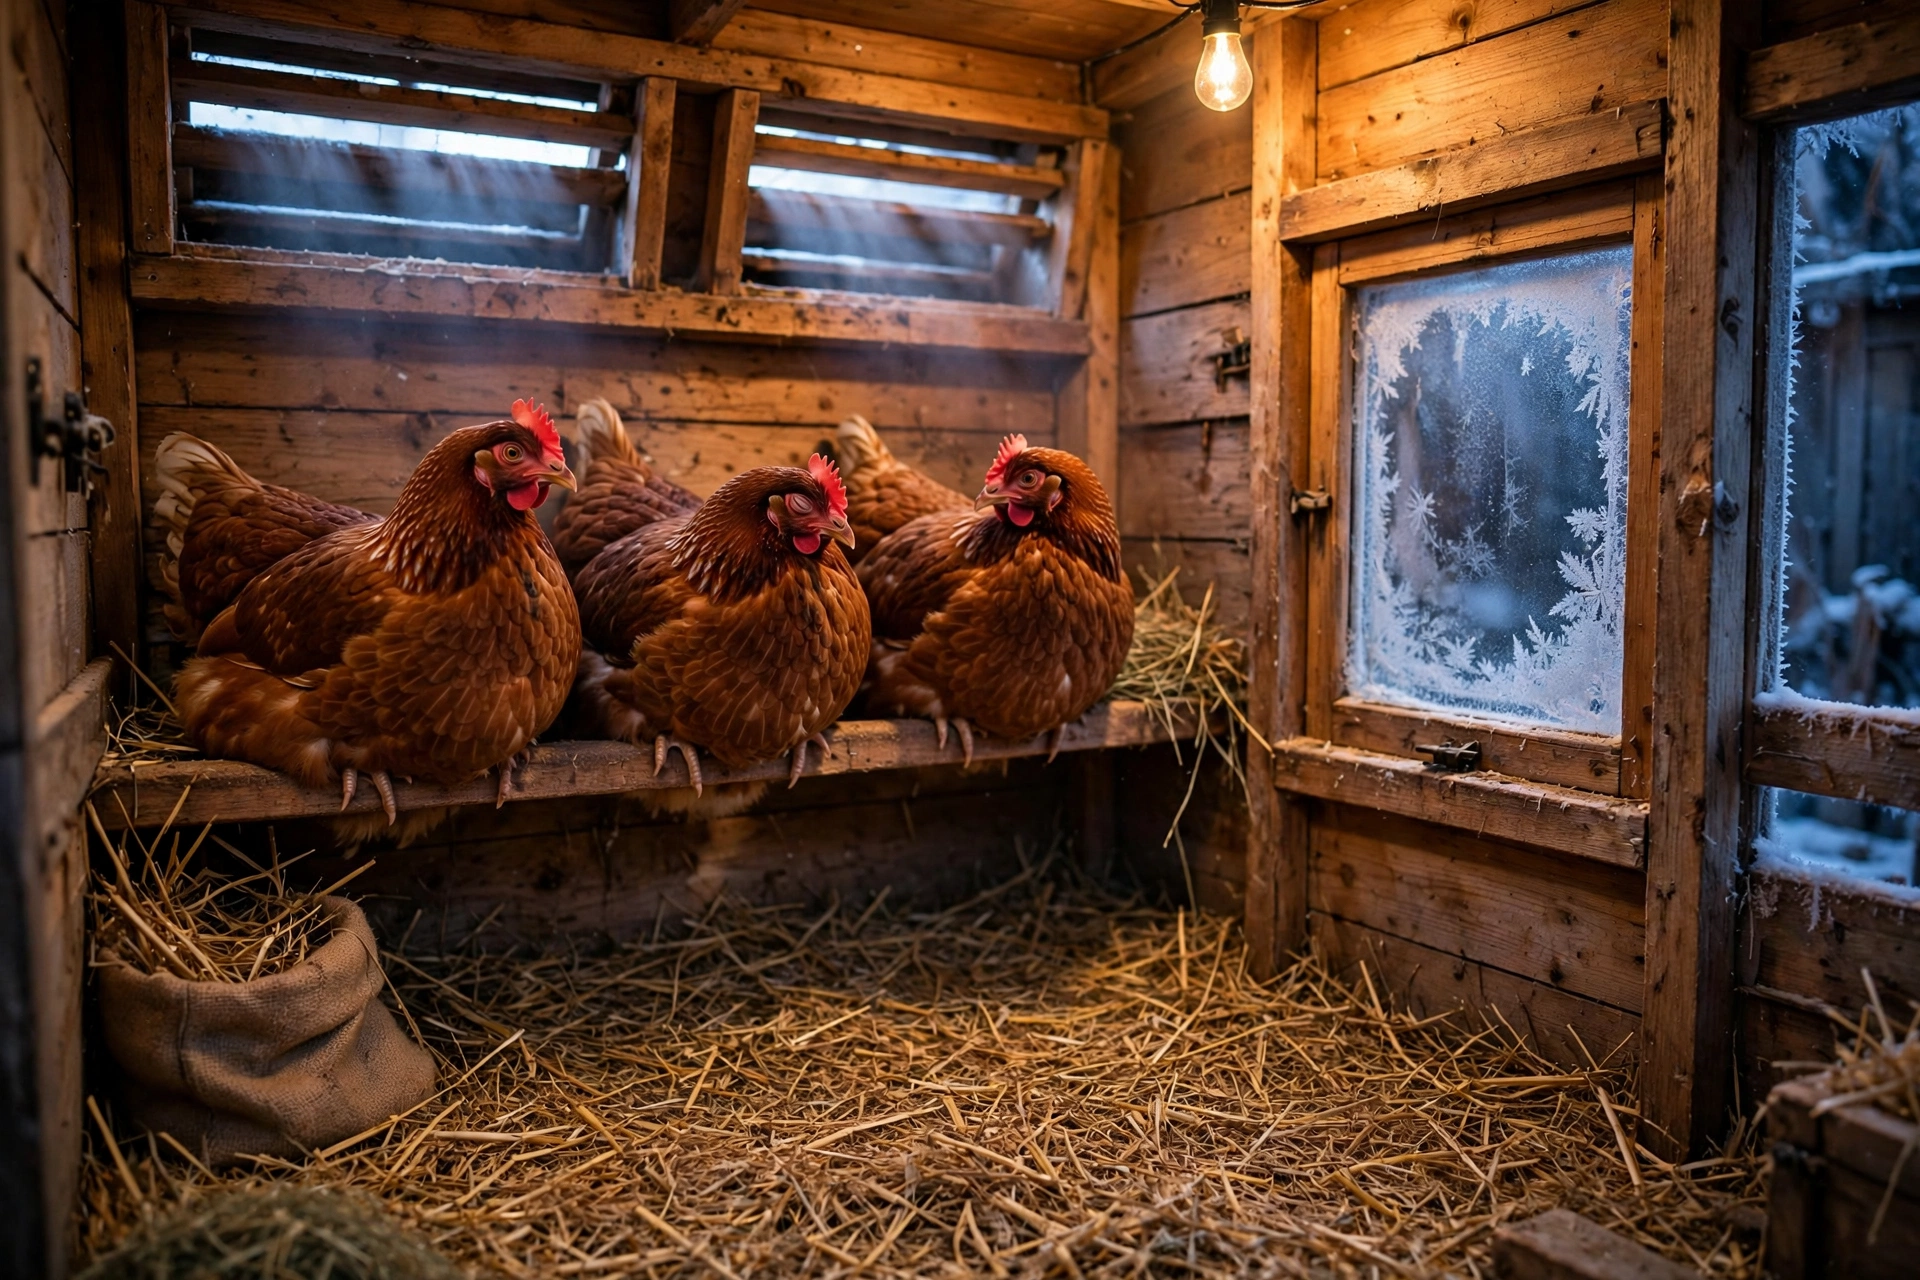
Yes, chickens need ventilation in winter, and a coop that is sealed shut is more dangerous than a cold one. Fresh air must flow through the coop all winter so moisture and ammonia can escape, but that air must enter and leave high above the birds, never as a cold draft blowing across the roosts.
The trick is simple. Vents go high up, above roost height, where warm moist air rises and leaves. Gaps at bird level get sealed. With that setup your hens stay dry, their combs stay safe from frostbite, and the coop smells fresh even on the coldest morning.
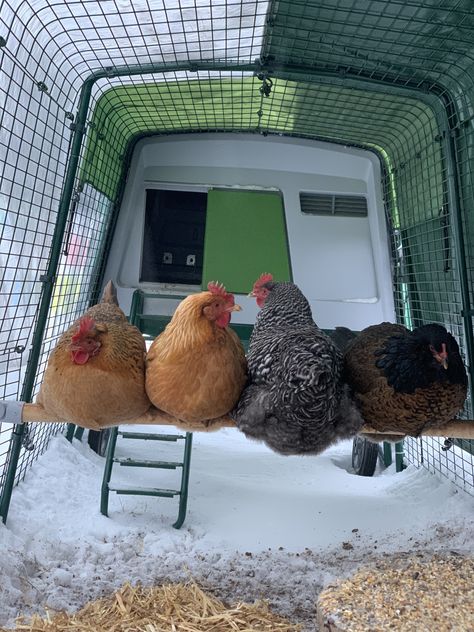
Table of Contents
- Why Chickens Need Ventilation in Winter
- Ventilation Versus Draft, What Is the Difference
- Where to Put Vents in a Chicken Coop
- How Much Ventilation Does a Coop Need in Winter
- How to Stop Condensation and Moisture in the Coop
- Sealing Gaps at Bird Level Without Sealing the Coop Shut
- Winter Ventilation Checklist
- FAQs
Chickens need fresh air all winter. Vents belong high above the roosts so warm moist air can escape, while gaps at bird level stay sealed. Damp air, not cold air alone, drives frostbite.
Allow about 1 square foot of ventilation per bird, so 4 to 6 hens need roughly 3 to 4 square feet in total. Check the inside of the roof each morning for condensation or frost.
Adjustable vents let you tune airflow as the weather changes. Never use a heat lamp as a fix for bad ventilation, and keep bedding dry, because damp bedding feeds frostbite.
Why Chickens Need Ventilation in Winter
A winter coop fills with moisture faster than most keepers expect. Every hen breathes out warm damp air all night, and droppings add more moisture and ammonia. In a coop with no ventilation, that damp air has nowhere to go. It hangs in the coop, soaks into the bedding, and condenses on the cold roof and walls.
Chickens handle cold far better than most beginners think, thanks to their feathers and the way they fluff up on the roost. What they cannot handle is sitting in damp, ammonia filled air. Moist air pulls heat from their bodies, irritates their lungs, and leaves combs and wattles wet and exposed, which is exactly how frostbite takes hold. A good winter coop is not warm. It is dry and fresh, with the birds sheltered from moving air at their own level.
Ventilation Versus Draft, What Is the Difference
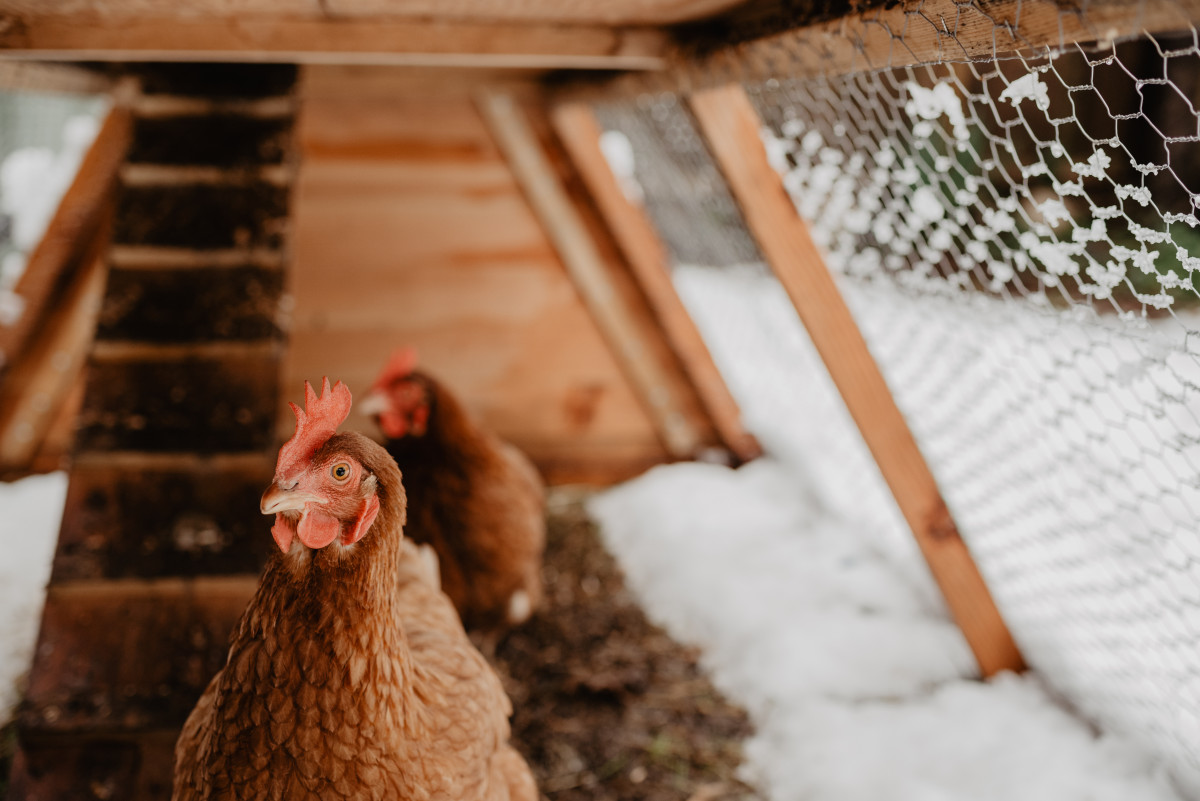
Ventilation is slow, steady air exchange high above the birds. It carries warm moist air out of the coop and lets fresh air drift in without ever blowing directly onto a hen. A draft is fast moving air at bird level, hitting the roosting hens head on, ruffling their feathers and stealing their body heat. One protects your flock and the other harms it.
Feathers are a chicken’s winter coat, and they work by trapping a layer of still, warm air close to the body. A draft breaks that layer apart, so a hen on a roost in a drafty coop cannot stay warm no matter how much feed she eats. Her comb and wattles stick out past the feather cover, so they are the first parts to suffer frostbite. Test yours with a strip of tissue paper at roost height on a cold evening. If it flutters sideways, you have a draft to fix. If you are setting up roosts for the first time, our guide on how high chicken roosts should be helps you place them low enough that the vents stay well above the birds.
Ventilation happens above the birds. A draft happens at the birds. If air moves across the roost, it is a draft. If it moves over the roost and out through a high vent, it is ventilation.
Where to Put Vents in a Chicken Coop
Where to put vents in a chicken coop comes down to one rule. Put them high, above the heads of the tallest bird on the highest roost, and put them on more than one side so air can cross the top of the coop. Warm air rises, and with it goes the moisture from breathing and droppings. High vents give that warm damp air a way out, and fresh air slips in through a vent on the opposite side to replace it, all without dropping down to roost level.
The most useful spots are the gable ends just under the roof peak, a long vent slot along the top of a side wall, and the eave gap under the roof overhang. In a small coop, two vents on opposite gable ends often do the whole job. A vent low on the wall is one spot to avoid, since it pulls cold air straight across the birds, so cover low vents for winter and add a high vent instead. Every vent needs a cover of half inch hardware cloth, screwed down firmly, not stapled, because open vents invite rats, weasels and raccoons. Our guide on how to predator proof a chicken coop covers the fastening details that keep a vent safe. Fit adjustable covers or hinged boards over the vents too, so you can narrow the opening in a hard freeze and open it wide again on a milder day.
| Vent location | Why it works | Watch out for |
|---|---|---|
| Gable ends under the roof peak | Warm moist air rises straight out | Cover with half inch hardware cloth |
| High slot along the top wall | Steady cross flow above the roosts | Keep the slot above roost height |
| Eave gap under the roof overhang | Sheltered from rain and snow | Block it in driving wind if needed |
| Low wall gaps near the floor | Not useful as vents at all | Seal these, they cause drafts |
How Much Ventilation Does a Coop Need in Winter
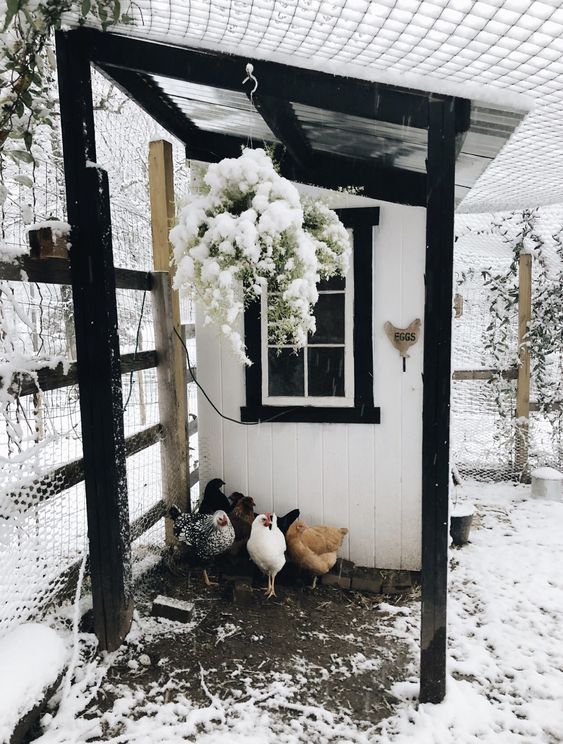
How much ventilation a chicken coop needs in winter surprises many keepers, because it is more than you would guess. A widely used rule of thumb is about 1 square foot of ventilation per bird. For a small flock of 4 to 6 hens, that works out to roughly 3 to 4 square feet of vent opening in total, split between two or more high vents so the air crosses the top of the coop. A coop that holds 12 birds should have around 10 to 12 square feet of high ventilation.
Those numbers are a starting point, not a fixed law. A coop with deep litter that stays dry may need a little less, while a damp or crowded coop will need the full amount or more. The birds themselves tell you if you have it right. If the inside of the roof is dry in the morning and the air smells fresh when you open the door, the ventilation is working. And if you are wondering whether a chicken coop can be too airtight, the answer is yes. A sealed coop traps every breath of moisture and every trace of ammonia inside with the birds, so bedding turns damp and frost appears on the underside of the roof. Add an adjustable vent rather than reaching for a heater, and never close every vent at once, even on the coldest night.
How to Stop Condensation and Moisture in the Coop
Learning how to stop condensation in a chicken coop starts with knowing what causes it. Warm moist air from the birds rises, hits the cold roof, and turns into droplets or frost. That water then drips back down onto the birds and the bedding, which makes everything damper and colder. Ventilation is the first fix, because it carries the moist air out before it can condense. But a few habits make the vents work far better.
Keep the bedding dry above all else. Damp bedding is both a cause and a result of coop moisture, and it is a direct driver of frostbite. Scoop out wet patches around the waterer and under the roosts, and top up with dry shavings or straw often. Move the waterer into the run during the day if you can, and check our guide on how to keep chicken water from freezing for winter water setups that stay outside the sleeping area. A coop that gets a full clean out and fresh bedding on a regular schedule holds far less moisture, and our guide on how often to clean a chicken coop gives a simple routine for it. Check the inside of the roof first thing in the morning. A dry roof means the ventilation and the bedding are in balance, while droplets or frost mean you should open the vents wider and add dry bedding that same day. Winter coop moisture and frostbite are linked so closely that a dry coop is the best frostbite prevention you have, and you will find more on the wider care picture in our chicken care and health hub. One fix to avoid is a heat lamp. It adds warmth without removing moisture, so the air stays damp, and it brings a real fire risk into a coop full of dry bedding and feathers.
Sealing Gaps at Bird Level Without Sealing the Coop Shut
Sealing gaps at bird level is the other half of ventilating a coop without drafts, and it is a job to do before the coldest weather arrives. Walk around the coop at dusk with a light inside and look for cracks where light escapes at floor and roost height. Feel along wall joints, around the pop door, and where boards have shrunk or warped. Those are the gaps that let cold air stream across the roosting birds.
Caulk works well for narrow cracks in boards and around frames. Expanding foam fills bigger gaps, but trim it flush once it sets and cover it with a thin board or strip, because hens will peck at exposed foam. Warped boards can be pulled tight with a screw, and a worn pop door may need fresh weather stripping or a simple flap. The key point is to seal low and leave high open. Many keepers seal everything in sight, including the high vents, and end up with a coop that is airtight and dripping with condensation. After sealing, repeat the tissue paper test at roost height. Still air at the roost and gentle movement up high means you have the balance right.
Winter Ventilation Checklist
Run this short checklist once before winter sets in, then check the roof each morning through the cold season. It takes only a few minutes, and it catches most winter coop problems before they reach the birds. If you also manage winter light for laying, our guide on whether chickens need light in winter to lay eggs pairs well with this one, since light and fresh air are the two things that keep a winter flock healthy and laying.
- High vents are open above roost height on at least two sides
- Total vent area is about 1 square foot per bird, so 3 to 4 square feet for 4 to 6 hens
- Every vent is covered with half inch hardware cloth and has an adjustable cover
- Gaps at bird level are sealed with caulk, foam, or weather stripping
- The tissue paper test shows still air at roost height and gentle movement up high
- Bedding is dry, with wet patches scooped out and fresh litter topped up
- The inside of the roof is checked each morning for condensation or frost
- No heat lamp is being used as a fix for damp air
Vents high, gaps low sealed, bedding dry, and a quick look at the roof each morning. Get those four things right and your hens will come through winter dry, healthy, and laying as well as the season allows.
FAQs
Should I close coop vents in winter?
No, never close all the vents. Some high ventilation must stay open every night of winter, even in a hard freeze, because the birds keep breathing out moisture and the droppings keep releasing ammonia. You can narrow adjustable vents in bitter wind, but closing them fully traps damp air inside and leads to condensation and frostbite.
Can a chicken coop be too airtight?
Yes, and an airtight coop is one of the worst winter setups. A sealed coop holds in every bit of moisture and ammonia, so bedding turns damp, the air smells sharp, and frost or droplets form on the inside of the roof. Those are signs to add high ventilation, not to seal the coop tighter.
How do I ventilate a coop without drafts?
Put the vents high above the roosts, on at least two sides, and seal every gap at bird level with caulk, foam, or weather stripping. Warm moist air rises and leaves through the high vents, while the sealed lower walls keep cold air from streaming across the roosting birds.
How much ventilation does a chicken coop need in winter?
About 1 square foot of ventilation per bird, so a small flock of 4 to 6 hens needs roughly 3 to 4 square feet in total. Split it between two or more high vents, and adjust with vent covers as the weather changes.
Why is there frost inside my chicken coop?
Frost on the inside of the roof means moist air is trapped in the coop and condensing on the cold surface. Open the high vents wider, add dry bedding, scoop out wet litter, and move the waterer out of the sleeping area. A dry roof in the morning means the ventilation is working.
For a fresh treat for your hens, see Can Chickens Eat Strawberries and Are the Tops Safe.
Keep Reading

Nusrat
Author, TheChickenPet.com